When the documentation doesn’t deliver
Way back in 2019, I started working on designing a live-streaming studio for our internal startup called Chibo. The goal was to have a dedicated space, right in the middle of the GE Appliances’ cooking product teams. We wanted to encourage people to stop and stare, to lolligag as it were, at what we we were doing. We want to inspire people to think differently, experiment and try and find new opportunities for the core of our appliance business.
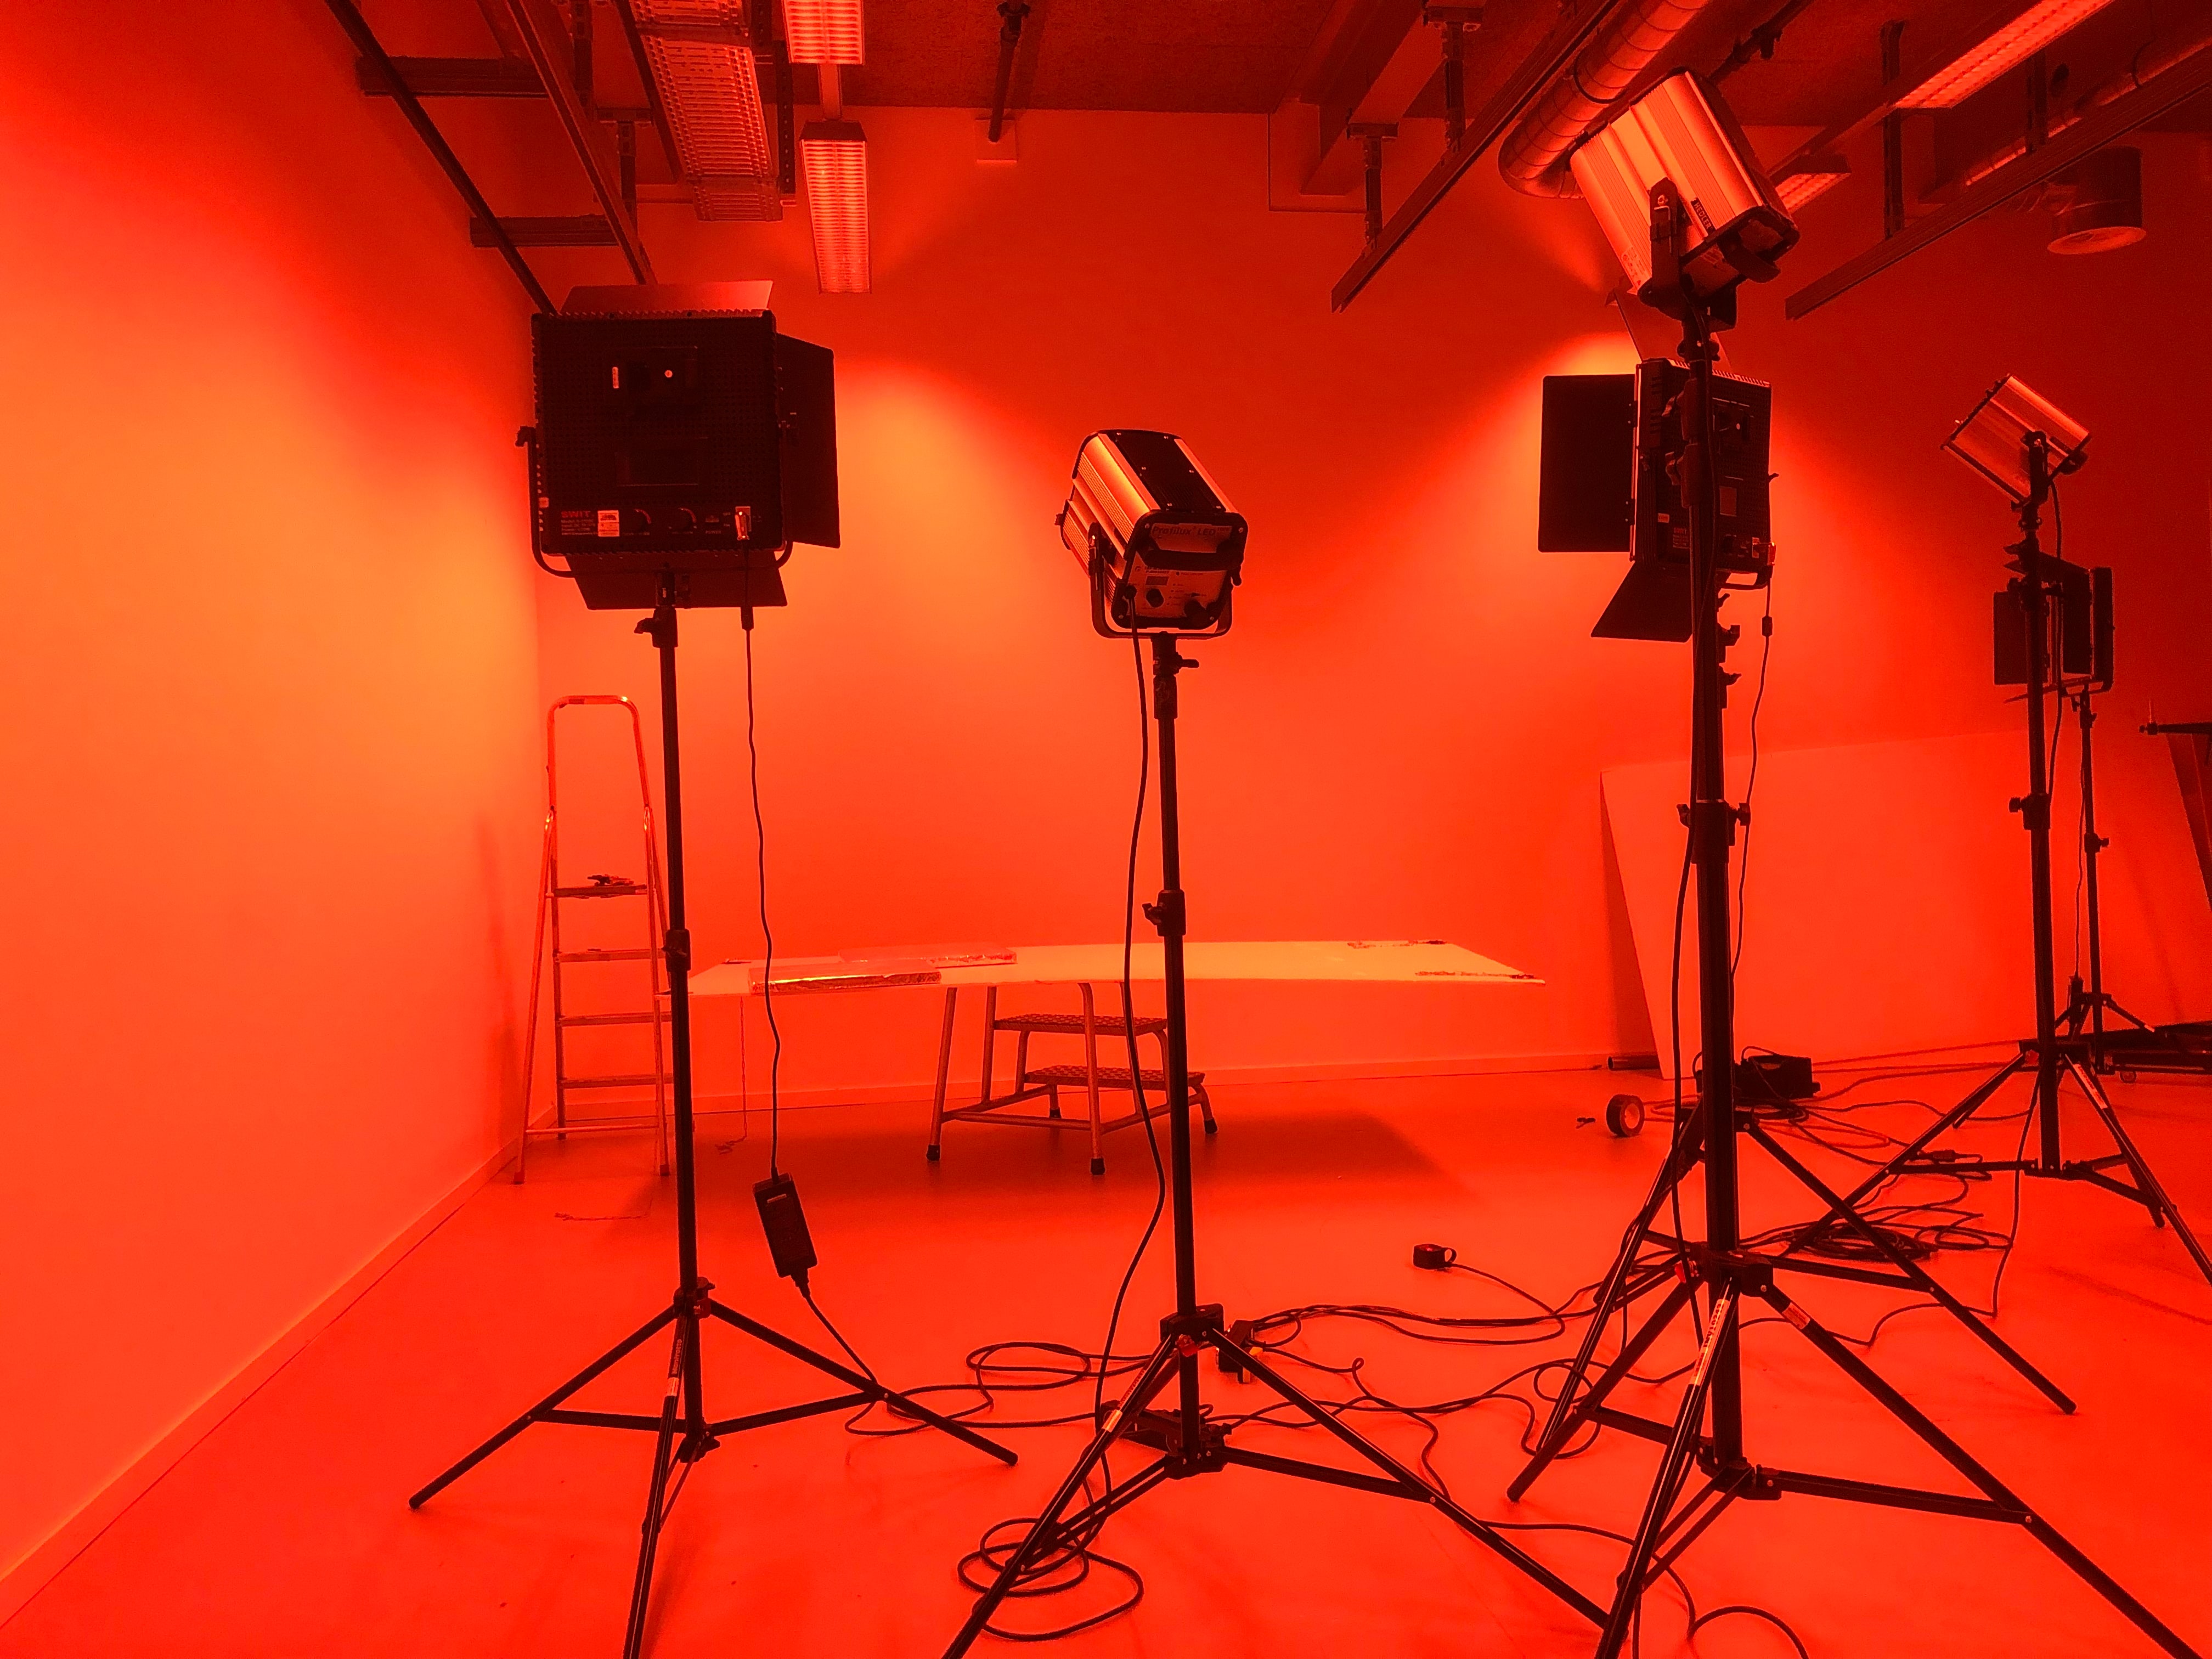
With the build-out nearly complete (you can see more about the build process here), I’ve been spending time rigging lights and testing with cameras to develop the natural light look I love to shoot with. Since I bought lights through the process of streaming, testing and learning what would work best, I have an odd assortment of lights to work with. The goal with this new space, was to allow for all the lights to be wirelessly controlled using DMX and Bluetooth using Lumenradio’s Moonlite system. I’ve been hyped to figure it all out and dove in eagerly.
Just to give some background, DMX has existed for decades and can be run on multiple formats and lighting systems. It is common for sound stages, DJ’ing and other studio setups. I have ZERO experience with it, since I learned to film as a solo shooter/editor. So, I got help from Midwest Grip and they helped me choose lights, but I chose the wireless system myself. I chose the Moonlite for it’s cutting edge system and it is evolving, but that comes with drawbacks. I should’ve seen the warning signs; noone I was working with knew the system and there were only a few things online about it. BUT, I forged ahead.
I started with reading the documentation, which is quite literally, 3 pages long. It’s more brochure than manual. As I got started, nothing was working. I charged the DMX connectors, connected them using the app they recommended, added them to the Luminair app, but I could only control one light at a time. The whole value prop of the DMX system is being able to control all the lights together and have scenes for quick switching of lighting moods. I must have read that little guide a dozen times, but I still was only getting one light controlled at a time. It was frustrating, and soon, I found myself digging through search results, videos and anything I could get my hands on. I even watched Lumenradio’s presentation about their new signal standard from an EU conference.
Then you realize you gotta go back and learn the basics
To cut to the chase, I was digging through other wireless DMX manuals just to figure out what I was missing. I soon found out that the Moonlite guide started from the assumption that anyone using it already knew lots about DMX and how to setup wireless DMX using WiFi. I didn’t, but soon learned all about the proper transmitting and receiving protocols. I then translated what I read on top of the bluetooth system I was working with. My curiosity was alight from all the information and working through the possible solutions and problems I would face. I would wake up each day running through the solutions, get ready and travel into the studio, stopping only to grab a bite, get my temperature checked and then onto the mental checklist of TODOs to work through.
Simple solutions, once you have the foundation built
All the searching and studying other companies’ manuals enabled me to understand how it all goes together. I also used videos that had visual demonstration connecting lights, app screenshots and whatever else to determine what settings I needed to have for each device. It was oddly satisfying (after the fact) to have dug through all the information having to scrape whatever I could. In some ways, I feel like I have a better understanding of the system for it.
TL;DR Let’s talk about how to make it work
First, you have to understand that this setup works with any lights that are DMX-able, meaning they have the 5-pin or RJ-45 connection for DMX. THe Moonlite is a 5-pin, but it’s easy to find cheap 5-pin to RJ-45 adapters.
Step 1 - Power and Setup
Take the Moonlite transceivers and charge them using the micro-USB. Press and hold the connect button and power them on. Then, using the CRMX Toolbox app to connect the Moonlite and set one of them to TX mode. This step is critical, since this will be the transceiver that allows all the others to connect to the Luminair App. The Moonlite transceivers create a wireless mesh, but one of them has to be set to TX to be the pass through from the app to the receivers to the lights. You can then connect the transciver in TX mode to a light fixture. In the setup, I also chose a different color for the DMX universe, or the entire DMX system as a whole.
Step 3 - Sync those
Take every other Moonlite that you will be connecting to a light fixture and power them on and connect to them using the CRMX Toolbox. In the settings, rename them - I chose to name them the light I had them connected to. I also set them to RF mode and to hold if connection is lost. That way, if the signal drops, my lights stay at the levels they were until I reconnect. Once I had every Moonlite receiver setup and powered on, press the connect button on the TX transceiver. I missed this step for DAYS when I was first attempting this. When they are connected, the second LED changes color to match the TX transceiver so you know you have them connected.
Step 4 - Plug ‘em in!
The next part is obvious; you plug the Moonlite into the DMX IN port on each light and set/check the DMX address. Jot down the DMX address of each light and how many channels it needs. It’s important to note that you have to understand how many channels you need TOTAL for all the lights in the DMX universe. In mine, most of my lights are 2 channel, dimmer and color temp. My Arri Skypanels can go up to 30 channels. A DMX universe can have up to 512 channels total, which is A LOT of lights. Once the Moonlite is connected to each light on the DMX input, you are ready for what is next.
Step 5 - Get an iPad, Brett!
The Moonlite transceivers work with Blackout and Luminair. I am using Luminair in my studio, which, wasn’t cheap, but not as expensive as Blackout. Once the app is raedy, tap the little green circle next to the settings wrench and choose Bluetooth and select the Moonlite you set to TX. Tap back to close this configuration menu and then you can start adding lights. I could make an entire post just about how to add lights and configure them, but I’ll just cover the basics…
Step 6 - Let there be lights!
You can tap the + button to add each light. Luminair has a lot of lights setup as presets and oyu can just type or scroll to search for your lighting fixture. If you don’t find it in the list, don’t worry, you can add custom profiles using the DMX address and number of channels. As you add each light, you will have to use the + - dialog to select the DMX address of the lights. I found that the DMX address dialog didn’t always show up, so, you can tap the light name and edit the DMX address to make sure it’s working correctly. Adjust each light’s dimmer settings to see that all are connected. With the lights connected and working, you can then add scenes, mess with settings and do whatever else you would like.
What about MOAR LIGHTS?!
If you need to add more lights in the future, you have options. You could use another Moonlite transceiver and follow step 3 to sync it, connect it, add it in the app and be good to go. As a wired alternative, you can also use 5-pin DMX cables, which are about $15 each. Each cable connects to the DMX OUT of the Moonlite on one light and then to the DMX IN on the next fixture. Add as many lights as you would like :)
Mind at rest, body at rest
After a long week of searches, trials and LOTS of errors, this process has got me up and running with all my lights. I can now focus on the much harder problem of making this studio look like a well-lit, happy home where chocolate chip cookies flow in abundance :) I think I’ll be sleeping much better now that I have the first of my lighting issues solved.